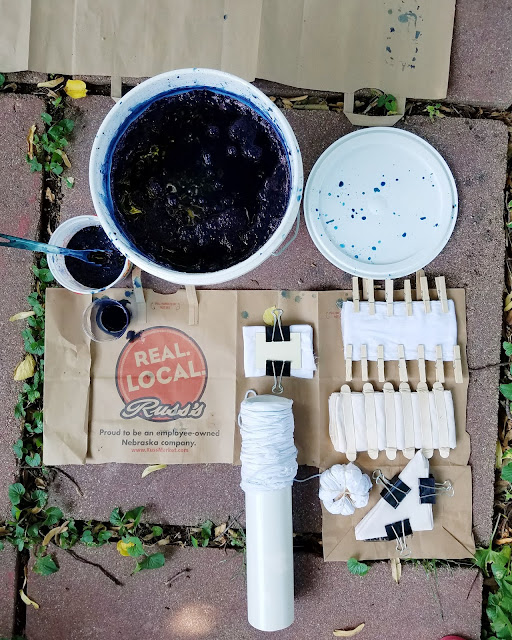
Indigo and Ice Dyeing
Have you ever tried dyeing fabric with indigo? I've always loved the look of indigo and white together, so I couldn't wait to give indigo dyeing a try. Last summer, Kristie and I both bought THIS indigo tie dye kit but we didn't get around to mixing up a dye vat until this summer. We picked a pretty hot day to do it but it was a lot of fun! This kit is so easy to use. Just follow the instructions and get your fabric ready. The fabrics I used to dye were some dish towels (like the kind you embroider) and a white sheet set that my mom picked up for me from a garage sale. (Thanks Mom!)
We had also been talking about trying ice dyeing, so we figured we could get the ice melting while we played in the indigo vat. I just scrunched my dampened pieces of fabric, piled on the ice and sprinkled on the powdered dye.
Kristie got fancy with a tie dye mandala!
Revealing the fabric when it's finished dyeing is the best part! We ooooed and aaaaahed with every piece we opened! It's so cool.
We filled up the fence pretty quickly with our pieces. They come out of the dye vat really dark but the color fades as they dry. The more times a piece is dipped in the indigo, the darker blue it will be.
Here are the results of the ice dyeing. Isn't Kristie's mandala awesome?!
Here's my two pieces. We didn't prepare our fabric with a soda ash soak but Kristie had some dye fixative that we sprayed on afterwards. I think it helped keep the color intensity a bit. I really like these!
Here are my favorite pieces from the indigo dyeing.
I really loved how dark the horizontal lines were when this piece was wet. Next time I will dip the piece more times (I think I did 2 or 3?) It was clamped with jumbo craft sticks and rubber bands.
The butterfly was done with a glue resist. I traced the butterfly design with clear Elmers glue and let it dry completely. The rest was clamped with jumbo craft sticks and rubber bands.
This piece was wrapped with string around a pvc pipe and then scrunched down to the end of the pipe. Isn't it so neat?
This one was clamped with clothespins.
For this piece, I folded the fabric lengthwise, sewed a running stitch along the edge of the folds, pulled the thread to tighten the stitches and knotted the thread at the end to keep that stack of stitches tight. This shibori design is called Horse's Teeth. I'm hoping to make this piece into a scarf. I dipped this one 6 times and am really happy with how dark the blue came out.
So that's it for this summer's dyeing experiments! I had so much fun trying this with Kristie and I can't wait to dye more fabric...although, I really should figure out what I'm making out of these first haha!


oh man oh man we did awesome!!! This is so great looking! Way to rock the photos!!
ReplyDeleteBeautiful, inspiring, fun! :)
ReplyDelete